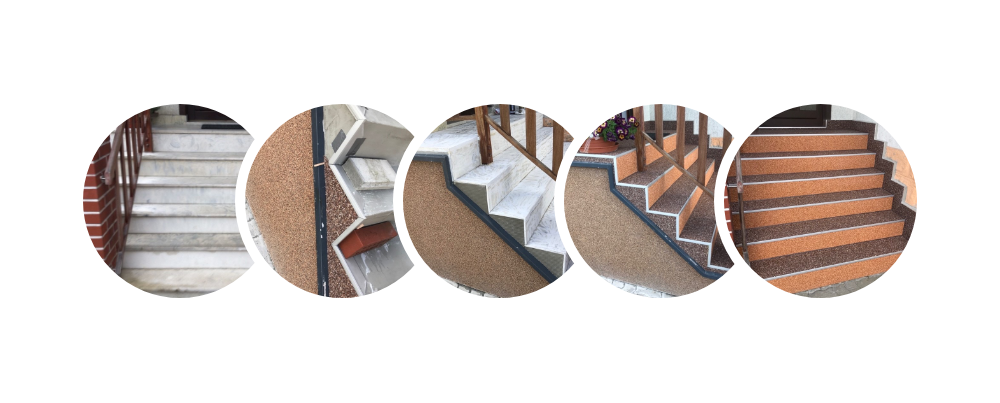
Categories Stone carpet Stone carpet instructions
Stone carpet instructions

Are you wondering how to properly lay our Natursteinteppich Bodenbelag floor plates?
Here you can watch the most important work steps as a video. If you still prefer to receive support from experienced professionals, you can find out more about our installation service here. All explanations and stone carpet instructions are for informational purposes only and without guarantee. If you have any questions or need support, please contact us or another authorized specialist company.
Anleitung: Steinteppich verlegen (PDF)
Anleitung: Steinteppich auf dem Balkon oder der Terasse verlegen (PDF)
Anleitung: Steinteppich-Treppenelemente verlegen (PDF)
Instructions for laying the floor panels
The stone carpet floor panels can be easily laid on the existing floor (firm and level). Thanks to its flexible properties, the stone carpet flooring also adapts to small unevenness. The prefabricated elements are laid floating and bounded by walls or our special aluminum profiles so that they do not slip. Optionally, you can also fix the stone carpet floor panels selectively with our assembly adhesive.
Instructions for cutting the parts
Use an angle grinder to cut the floor slabs, stair and base elements to the correct and desired size. For a clean and straight cut edge, cut through the plate from above, that is, on the "beautiful" side. If you need a break edge, for example to work with the spatula set later, cut through the mesh on the back of the panel and break off the pieces at the edge of the table.
Instructions for cutting the profiles
Balcony and stair profiles made of aluminum can be cut precisely straight (for stairs) or mitred (e.g. outside corner terrace / balcony) with a hand saw. You can of course also use a miter saw or a table saw with an aluminum saw blade.
Instructions for laying the stair elements
First you drill holes in the aluminum profiles with a 6mm drill bit, so that the profiles can then be attached to the step with screws and dowels. Before doing this, the aluminum profiles must be cut to the correct length of the respective stair step (see instructions for cutting the profiles). It is advisable to clearly mark and number the aluminum profiles with a felt pen.
So that the screws (countersunk head screws) can be countersunk, the holes must be chamfered with a countersink drill.
Now all you have to do is place the pre-cut and pre-drilled stair profile on the step, mark the hole with the felt pen, drill the hole in the stair and then mount the aluminum profile on the stair with a dowel and countersunk screw.
The stair elements (sides and treads) are now pushed into the rails and fixed with the assembly adhesive that was previously applied in strips. The mounting adhesive strips must be attached perpendicular to the edge of the stairs so that the water drainage is not impeded.


